


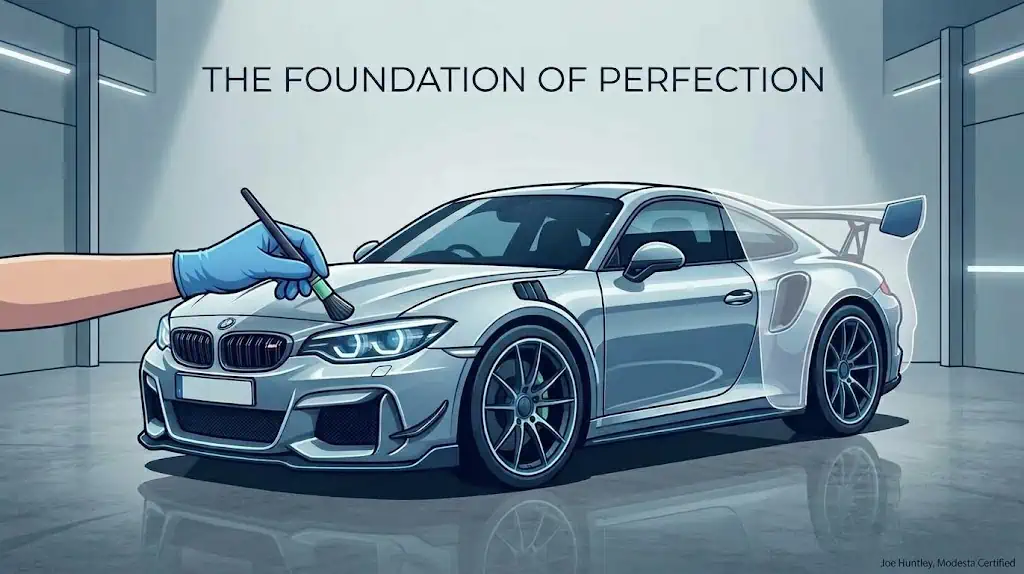
The Foundation of Perfection: Preparing Your Car for a Wrap or PPF
When you're investing in a high-end colour change wrap or Paint Protection Film (PPF), it's easy to get caught up in the end result—that flawless satin finish, a bold new color, or nearly invisible armor shielding your front end from stone chips. But after spending years working on vehicles in my workshop, I can tell you firsthand: the ultimate longevity and visual clarity of any film or wrap are almost entirely determined by what happens before the installation even begins.
Applying film over compromised paint is like building a house on quicksand. Even the highest-grade materials cannot mask poor preparation. Achieving a seamless, factory-like finish requires meticulous cleaning, deep decontamination, and, in many cases, precision paint correction.
Here is how I approach the prep work to get a car ready for its transformation.
Phase 1: Deep Cleaning and the Art of Degreasing
A standard wash routine simply won't cut it when you're prepping a vehicle for film. Every trace of road grime, old waxes, and hidden oils needs to be entirely stripped away so the adhesive can bond properly.
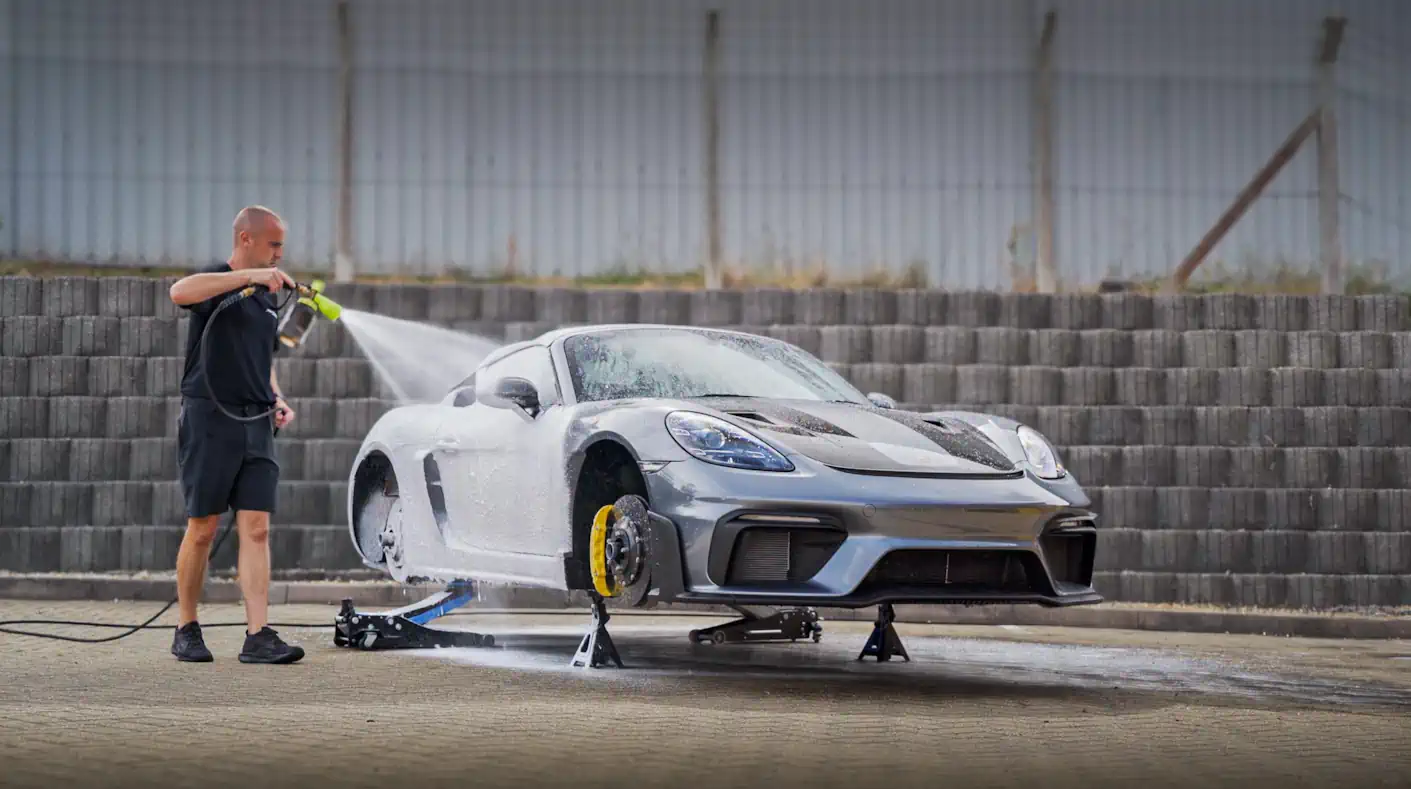
Comprehensive Washing: I start with a thorough multi-stage wash, using high-grade snow foams and safe wash techniques to lift loose grit safely away from the paintwork without inflicting scratches.
Panel Degreasing: Every single panel gets systematically treated with specialised degreasers and citrus pre-washes to break down stubborn petroleum-based road films, traffic film, and greasy residues that standard car shampoo leaves behind.
Fine Detailing Brushes: This is where attention to detail separates an average job from a professional one. I go around all panel gaps, window seals, badges, fuel caps, and intricate trim pieces using fine detailing brushes and safe cleaning solutions to agitate any areas where trapped dirt loves to hide.
Why this matters for older cars: If I'm working on an older vehicle, this step is critical. Years of accumulated microscopic grit, old polish residue, and wax build-up frequently hide in tight seams. If that trapped dirt is left behind, it can easily work its way out during the squeegeeing process, creating visible flaws, lifting edges, or completely ruining the clean appearance of your wrap or PPF.
Phase 2: Total Paintwork Decontamination
Even after a car looks clean to the naked eye, the microscopic landscape of your clear coat is usually packed with embedded pollutants.
To achieve a truly smooth surface, I take vehicles through a rigorous chemical and mechanical decontamination process:
Iron Fallout Removal: Industrial fallout, brake dust, and metallic particles embed themselves directly into the clear coat over time. Specialised chemical removers dissolve these particles safely, turning purple as they flush them out of the paint.
Tar and Sap Removal: Sticky road tar, tree sap, and organic contaminants are meticulously dissolved using dedicated solvents, ensuring they aren't smeared or trapped under the film.
Clay Bar Treatment: Finally, I use specialised detailing clay to glide across the paint, pulling out any remaining bonded environmental contaminants that washing alone just can't touch.
The Risk of Skipping Decontamination: If these microscopic lumps and bumps are left on the paintwork, they act like miniature mountains underneath your wrap or PPF. Because modern films stretch and conform tightly to the contours of the car, every single speck of trapped debris will show through as an unsightly bump, significantly degrading the overall quality and finish of the installation.
Phase 3: Paint Correction – The Final 10%
While wrapping or applying PPF protects your paint, it also traps whatever is underneath it. If your paintwork has swirl marks, light scratches, or oxidation, those imperfections will often telegraph straight through transparent PPF, muting the gloss and clarity of the film.
If you want the ultimate finish, undertaking a stage of paint correction is genuinely transformative:
Refining the Surface: Machine polishing levels out microscopic imperfections in the clear coat, restoring maximum optical clarity and gloss.
The Extra 10%: While a thoroughly cleaned car is technically "ready" for film, adding paint correction delivers that extra 10% of perfection. It provides a super-slick, glass-like foundation that allows transparent PPF to look deeper and glossier, and gives solid-colour or textured wraps an immaculate, distortion-free base to adhere to.
Buying a Car with Wrap or PPF?
If you are considering purchasing a vehicle that already has vinyl wrapping or Paint Protection Film installed, verify what lies beneath the surface before making a financial commitment. Use our dedicated Car Wrap & PPF Checker to inspect DVLA colour changes, MOT advisory history, past accident repairs, and write-off records.
Summary
Preparation isn't just a preliminary step—it is the most important part of the entire process. By investing the necessary time into deep cleaning, meticulous brushing of crevices, thorough chemical and mechanical decontamination, and precision paint correction, you ensure that your wrap or paint protection film looks phenomenal, adheres securely, and stands the test of time.
If you're considering transforming or protecting your own vehicle, feel free to get in touch—I'd be more than happy to talk you through the process.
JOE HUNTLEY automotive detailing & ppf
+44(0)7950 897105 www.joehuntley.com detailing@joehuntley.com